10 Tips For Your First Chick Set Up (Easy Brooder Set Up)
Getting your first baby chicks is the beginning of a wonderful and rewarding adventure. Here are simple tips that work great for me on my homestead to help raise healthy and happy baby chickens. *I highly recommend purchasing at least one beginner chicken care guide book. * These guide books are available at farm box stores, at your local library, at local and online booksellers, and other places. These guide books include helpful care information, coop and run plans, and can prove to be vital sources of information when online resources may not be available.
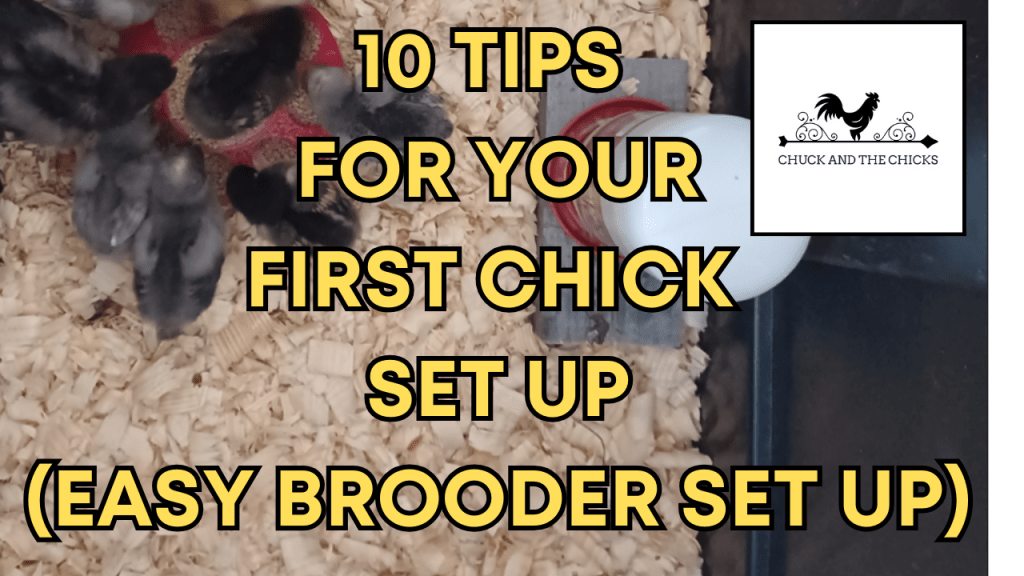
Decide where your brooder will be located in advance and assemble it before adopting your baby chicks. The quicker you can transport your baby chicks into their new and safe brooder (sometimes called a brooder box), the environment where they will grow for the first 8-10 weeks of their life, the better your chances of maintaining their health and survival. Many baby chicks are kept in crowded bins or shipped in the mail which is a very stressful experience for them. Having your brooder ready to go reduces stress for your chicks and for you. Wherever you decide to place your brooder, understand that like babies of any species, small chicks are messy. They will produce droppings and dust. Common locations people choose to place their brooders include things like a spare bathroom, a garage, a barn, or a similar outbuilding. The location you choose should be temperature controlled if possible and away from loud noises, machinery or chemicals, and potential predators. Whether you choose to raise your baby chicks indoors or outdoors depends on many factors. Regardless of where their brooder is located, it will need regular maintenance to help keep your chicks healthy. Your brooder should have walls that are 24 inches high to prevent your chicks from escaping as well as adding additional safety. You can create a brooder from things like a sturdy plastic tote, a large and reinforced cardboard box, or you can build one yourself from a kit or spare materials. Your baby chicks will benefit greatly from an adjustment period of at least 2-3 days prior to handling them. This allows them to adjust to their new environment and reduces their stress levels which helps keep them healthy. A brooder is necessary even if you have adult hens. Baby chicks should not be immediately introduced to adult hens that are not their mothers. Without feathers they will not be able to survive outside of a temperature-controlled environment. Unless the chicks were raised by the flock, they will be perceived as a threat or a food source and they will likely be injured or worse. A broody hen, if she is in full broody state, may possibly accept baby chicks but this is also unlikely and a complex subject which deserves its own dedicated time. A brooder is an essential tool to ensure the health and survival rate of your new baby chicks.
Create a top for your brooder. Whether your brooder will be indoors or outdoors, your brooder will need a secure top that allows in plenty of fresh air. This top will protect your baby chicks from predators both indoor and outdoor. Animals like mice, rats, racoons, snakes, weasels, cats, and others all can pose a threat to fragile baby chickens. You can create a top from scrap lumber and hardware cloth or use items like a screen insert. Check that your brooder top is secure, has no holes, and can’t be easily pushed aside.
Line your brooder with a slip proof material. Whether you choose to use pine shavings, puppy pads, or paper towels, your brooder will need to be lined to prevent your baby chicks from slipping. Items like newspaper or cardboard don’t make good brooder liners because these materials are too slick for baby chicks and can cause falls and injuries. Slippery surfaces can cause injuries like splay leg or broken feet and toes. Choose a brooder lining material that works best for you and is easy to clean.
Purchase a poultry appropriate heat source for your baby chicks. Regular light bulbs used in reading lamps do not provide the heat that baby chicks need to survive and thrive. The most common choices are a heat lamp which will attach to the side or top of your brooder or an adjustable panel heater. Unless you will only ever be raising one batch of baby chicks, I highly recommend investing in an adjustable panel heater. Panel heaters allow for more natural behavior and mimic the presence of a mother hen who would provide a safe warm place for her chicks to hide. If you choose a heat lamp and light set up, be mindful that is does not touch any surfaces and that it will become incredibly hot to the touch. It will need to be checked often as to not become a fire hazard. Place your heat source at one end of the brooder opposite from your baby chick’s food and water stations so they have the option to use the heated area and can escape it if they wish to.
Create food, water, and grit stations for your baby chicks. Your baby chicks will begin by eating chick starter grower formula. This style of food has the essential nutrients they need to grow and develop properly. They will transition to adult chicken food between 18-20 weeks of age (4-5 months old). When you first bring home your chicks, I highly recommend using a hydration packet for their first water offering and gradually transition to plain water. This hydration packet can make the difference of survival for severely dehydrated or traumatized chicks. Baby chick grit offered in a container separate from their food and water ensures your baby chicks will be able to digest their food properly. Place your food, water, and chick grit away from your heat source for easy clean up.
Wash your hands with soap and water before and after handling baby chickens or their brooder accessories. Baby chickens themselves can be very messy. Baby chicks are also very fragile and are susceptible to a host of germs and bacteria. Washing your hands before and after handling chicks provides additional biosecurity for you and them.
Monitor young children interacting with baby chickens. Raising baby chickens as a family is an amazing educational bonding activity. However, young baby chickens are fragile and it is very easy to cause accidental injury or worse. *Children should interact with baby chicks only with adult supervision. * Baby chicks are young living animals and not toys. Handle your chickens safely by slowly scooping them up with your hands with your fingers gently parted and allow their legs to dangle while gently cupping your other hand over the chick to prevent them from jumping unexpectantly. You can also use your hands to form a gentle safe enclosure around your baby chicks to handle or move them. Cradle your baby chicks’ whole body when moving them and understand they will likely attempt to jump or escape. Never pick up your baby chicks by their heads, feet, or wings, this can permanently injure them or worse. Patience and calmness are essential. Some breeds of chicken are more docile and tolerant of handling than others. Creating a hand-tame flock isn’t a requirement but it can make interactions easier as your chickens age.
Create a bond with your baby chicks by having consistent, calm interactions. Baby chicks thrive in a calm consistent environment. If having a hand-tame flock is a goal for you, you can begin to bond with your chickens by doing simple things like sitting calmly with them and speaking to them softly, or handling them gently and very softly and carefully petting their chest area. Another stress-free way to bond with your chicks is simply by placing your hand with some of their starter grower feed mixed with water in your palm in their brooder. Slowly, the braver curious members of your young flock will be eating right from your hand showing the other chicks that it is safe to do so. You can also offer them safe enrichment items to interact with like untreated lawn grass and climbing objects like small sticks, chicken safe perches, or small blocks of wood with no sharp edges or points. My baby chicks enjoy small pieces of scrap 2×4 to climb on.
Adjust the brooder temperature as your chicks grow, use an economy thermometer to monitor your brooder temperature. Baby chicks that are a few days old will do best in a brooder that is between 90-95 degrees F. Placing an economy thermometer in the brooder with your baby chicks is an easy way to monitor their brooder temperature and you can use this same thermometer later in their adult coop and run. Reduce the heat weekly decreasing it by 5 degrees each week as your chicks grow. You can do this by adjusting the light source or your panel heater. If chicks are too cold, they will chirp loudly in distress. Brooder chatter should be soft, gentle chirps, not shrill cries that don’t stop.
Healthy chicks are active, utilize their whole brooder, and they will eat and drink freely. Your baby chicks should be active during the day and sleep under their heat source at night. Healthy baby chicks eat and drink. If your chicks are huddled in a corner away from their heat source, they are probably too hot. If they are all huddled under their heat source during the day and seem hesitant to leave even to eat or drink, they may be frightened or too cold. Signs your brooder is too small for the amount of baby chicks you have include signs of bullying, one chick being singled out, or harmful pecking that produces feather loss or blood. Your baby chicks will not be ready to be outside until they have a full set of feathers and no longer have any downy chick fuzz. Typically, chicks are fully feathered and ready to transition outside to their coop and run sometime between 8-10 weeks of age, around 2 months old. It’s important to have your outdoor area prepared for your chickens. You will not be able to build and complete construction as fast as your baby chicks can grow.
Bonus tip. Use a dog or cat carrier to place your baby chicks in while you clean their brooder. Eventually, you will need to clean your chick’s brooder area. Droppings will accumulate quickly. The more chicks you have, the more often you will need to clean your brooder. The frequency of cleanings will depend greatly based on your brooder style, your chosen liner, and the size of your flock. What has worked best for me is using a dog or cat carrier lined with puppy pads as a temporary holding area while I clean my brooder. Attempting to clean your brooder while the chicks are still inside can cause undue stress for them and for you and may result in accidental escape or injury to your baby chicks. Clean your brooder accessories when needed with natural castile soap or gentle dish detergent. Don’t use harsh chemicals or scented cleaners on your brooder accessories as these cleaners can cause accidental harm to your chicks.
I hope this information has been a helpful starting point for your research regarding creating the perfect brooder set up and maintenance routine for your new baby chickens. If this blog entry was helpful to you, please like and subscribe. If you liked this, Check out Chuck’s other social media for more backyard chicken and homesteading content.
